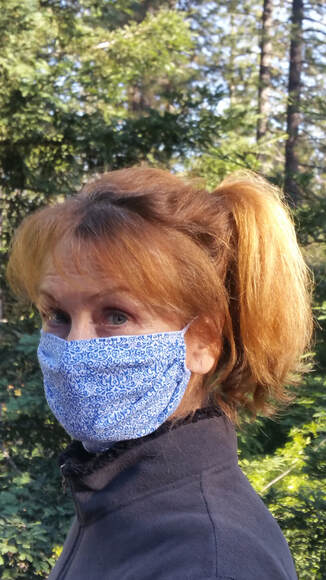
 Two-layer adjustable mask with nose pleat
 It started in March. Karen's daughter called and said that a doctor friend at an Oregon hospital was having problems getting Personal Protective Equipment (PPE), especially masks. Each doctor was using multiple N-95 masks on their shifts and they were desperate for any help possible since they were running short. She suggested that cloth mask covers would extend the useful life of their N-95 masks.
Being an accomplished seamstress, Karen took a quick look at the Deaconess website and their YouTube tutorial on making masks, and got to work. We did some research and discovered that 100% cotton flannel was the most effective material, so we went to the local fabric store and bought yards and yards of different flannel fabrics as well as all the 1/4" flat elastic they had. Karen also placed orders for 100-yard rolls of elastic with staggered delivery times.
Karen put together several prototypes which we tried ourselves. We gave a few to neighbors and several to an EMT who had the same issues getting PPE. After learning that the prescribed sizes on the Deaconess site were too small for some people and too large for others, Karen modified the design to create a larger, better-fitting, easily adjustable mask. Ultimately as more studies on materials came out, we settled on a two layer flannel + cotton combination which, while not quite as effective as an N-95 mask, has been shown to be much more effective than a surgical mask.
To date, we have given away over 900 masks, including 225 last week alone.
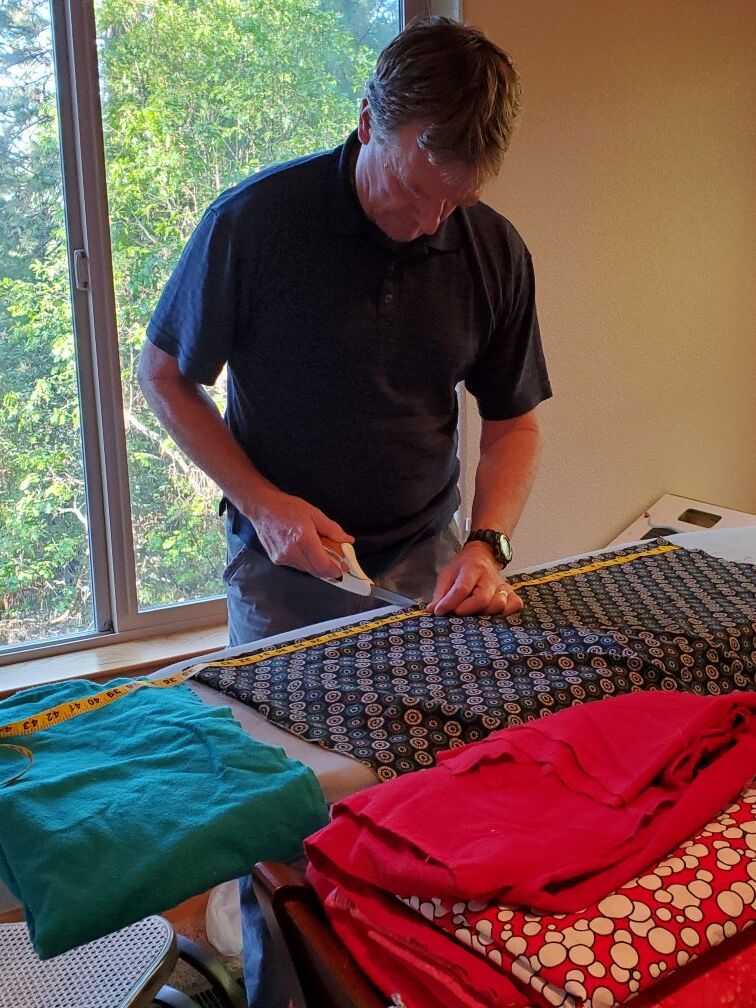
Since Karen is the seamstress and I'm not much good with a sewing machine, Karen asked me to do fabric cutting. This was pretty intimidating for me as I'm not really very accurate with a pair of scissors (I can't cut straight). Karen reassured me that this was going to be fun. She put me to work TEARING and cutting. And the tearing is quite rewarding, releasing pent-up frustrations after weeks of sheltering in place.
As it turns out, once you remove the selvage (the border) from most of the fabrics we bought, the width is forty inches. Since the dimensions of our unsewn masks are 7" x 10", the cutting/tearing becomes quite simple.
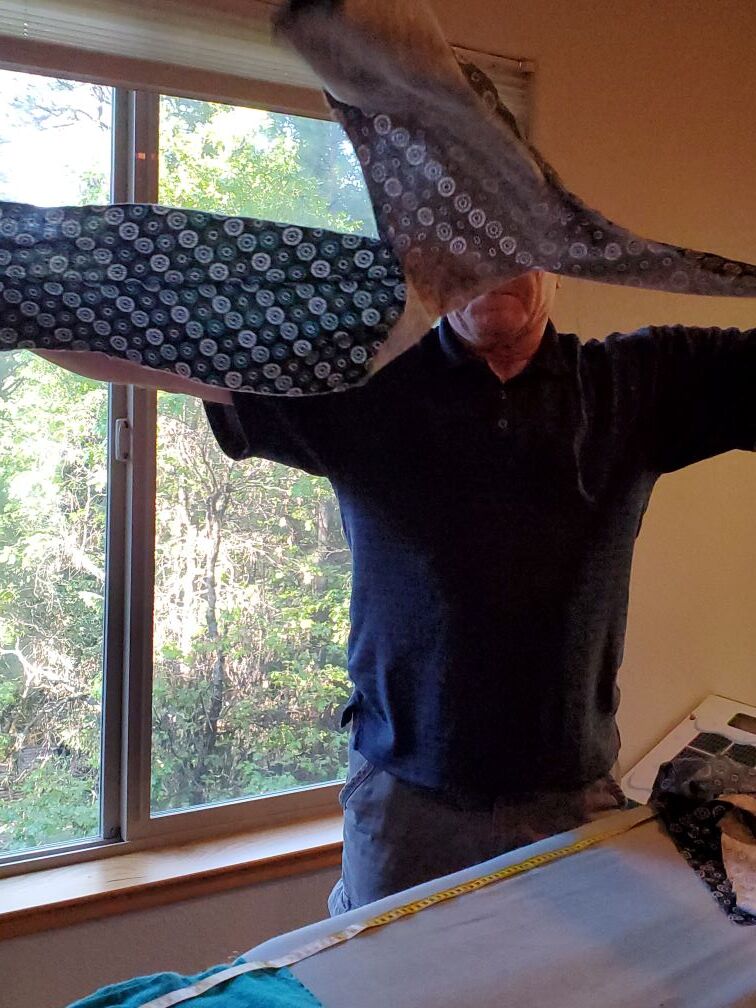
I take several yards of flannel which is 40" wide, lay it out, and make small cuts (1/2" to 1") every seven inches. I then start tearing. I just rip the fabric at each of those cuts and voila, I have a bunch of 7" x 40" strips.
I repeat this for the cotton fabric and now have two piles of 7" x 40" fabric.
I then take one strip from each pile, laying out the cotton printed side face up, and the flannel, also printed side face up, on top of it. I match up the corners and smooth the wrinkles. Then I fold that in half and cut, creating two 20" pieces. Folding each in half again and cutting, I have four 7"x10" masks ready to sew. I stack them perpendicular to each other so that Karen can pull them off the stack easily.
Note that the reason we put both fabrics face up is that we want the masks, which get reversed in sewing, to have the cotton printed side out, and the back of the flannel out. That makes it easy for the wearer to know which way to put the mask on. 'Plain' flannel on the inside and the printed cotton facing the world.
Now that I have it down, I can do about 90 masks in an hour and a half - about the limit of my contribution for the day.
I also cut elastic. Karen put tape marks 7.5" apart on one of the kitchen counters. I put the 100- yard roll of elastic in a drawer and pull the elastic out, cutting it to the proper size. I can cut 180 strips (enough for 90 masks) in about fifteen minutes. My part is done for the day, possibly a few days depending on how many masks Karen wants to make.
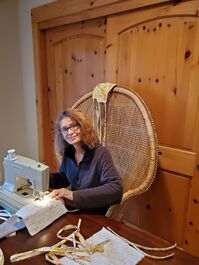 Karen sewing
 Karen's initial assembly process is very similar to what's described in the Deaconess video.
She starts sewing mid way on a long edge, slips in the elastic strip at a 45 degree angle from the corner, sews that down, reaches in and folds the other end of the elastic strip into the adjacent corner on the short side and sews that down. She repeats on the opposite side, leaving the middle of a longer side open so that the mask can be reversed.
To break up the monotony and improve efficiency, Karen will do this for a couple dozen masks. Then, perhaps while continuing whatever Netflix, CBS All Access, or Prime series we're following at the moment, she'll take a still-inverted mask with straps inside, reverses it, and pins 3 pleats across the mask, using 6 pins. By the end of a show, she has a stack of masks ready to finish.
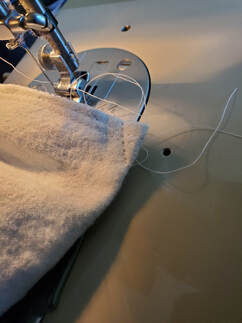 Sewing the pleat across the bridge of the nose
 To finish, Karen takes the stack of pinned masks and sews around twice. This reinforces the integrity of the masks and the elastic straps. Next, Karen folds the mask in half, and sews a line from a quarter inch from the fold to the folded edge (about an inch). This creates a pleat over the nose which makes the mask fit better without adding more complex and less durable metal strips over the bridge of the nose - she made several of those using metal strips from coffee bags but after many washings, they need to be resewn.
Finally, to make the mask adjustable, Karen ties a slip knot into each of the straps enabling the wearer to tighten or loosen the mask simply by pulling the elastic though the slip knot.
Sewing and pinning time for Karen averages out to less than 5 minutes per mask. Cutting time for masks and elastic is less than two minutes, so we're looking at a total of less than 7 minutes per mask.
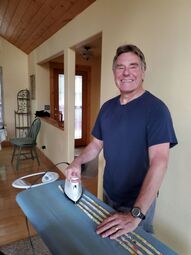 Me grinning and bearing it as I iron ties
 Okay, I admit it. It was fun and I felt like I was helping. But then came the ties.
When we ran out of elastic, we had to make ties.
The cutting and tearing was more challenging as we created one-inch strips 48" long. The calculations on how to cut/tear the strips depends on the dimensions of the fabric if you want to optimize fabric use for ties and masks.
Once we had strips, I had to iron the strips. Okay, not too bad. Then, I had to fold the 48" length from one edge to the middle, ironing as I went. Did I say that I'm not very good at small detailed tasks, especially those with a hot iron?
Next, I had to fold the other edge over the first and iron it down for the entire length. In general, it took me about two minutes for each strip which would produce three 16-inch ties. In other words, for 3 masks I was looking at four minutes - just for the ties. Note that this is compared to 30 seconds for three masks with elastic straps.
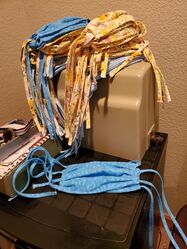 Masks with ties
 Fortunately, more elastic arrived and we ultimately went back to elastic. Also, as our medical professionals told us, masks with elastic are much easier to take on and off. And time counts.
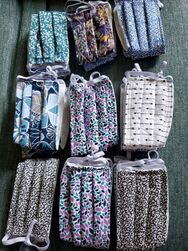 Some of the masks we donated
 At first, we were just filling requests from family and friends. Next, Karen shipped to some of the places listed on the Deaconess site. Since then, we've provided masks to nursing homes, hospitals, behavioral health centers, homeless shelters, doctors' offices and clinics, restaurants, and more. Karen has worked hard to develop local distribution networks and they seem to be able to take all we can make, and they need more.
Yesterday we bought lots more fabric. We're slowing the pace a little, but Karen is still looking at making 25 or more per day. We'll should pass 1000 masks shipped and donated within a week.
Give it a shot. The sewing isn't terribly complicated, and if you can get your spouse to help, you'll have a fun project you can do together. And, you'll make a difference.



 RSS Feed